New Raspberry Pi setup - Part I (OS installation)
Table of Contents
When trying to avoid “big tech” self hosting is a great way to achieve this. Since I first started out with my Raspberry Pi running Pi-hole I’ve added quite a lot of services - and it still performs very well. So I thought I’d write an updated series of how the Pi is set up, starting with the new OS. I’ll then add one post for each service I’ve got running. I’ll reference my old posts in case there are any.
I’ve started from scratch with a clean installation of Raspberry Pi OS based on Debian Trixie. Also, to increase disk space for additional data, I’ve added a 2TB NVME disk to my setup:
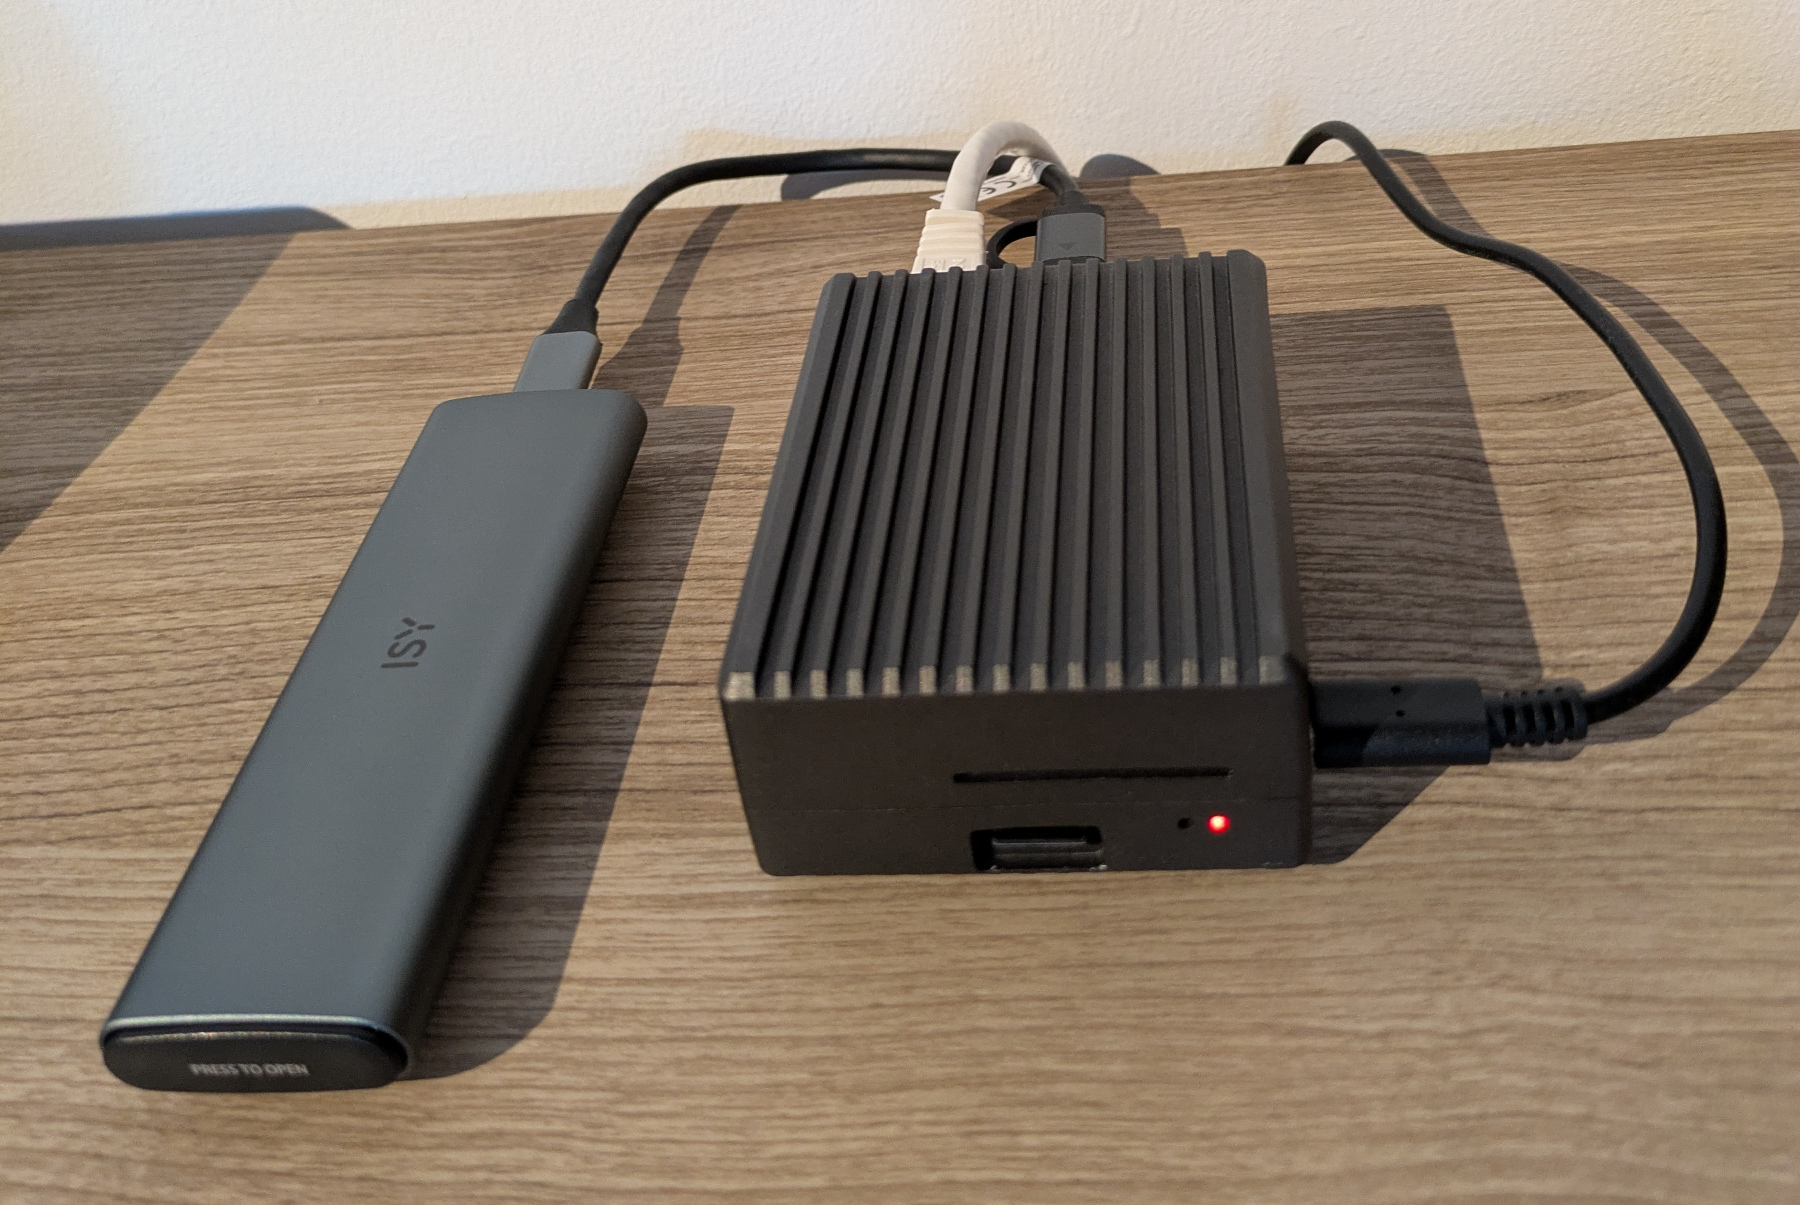
The OS is still installed to a 128GB micro SD card, the NVME disk is just for data storage.
Those are the services currently running on my Pi:
- Pi-hole + unbound => DNS and DHCP server
- Radicale => CardDAV and CalDAV server
- WedDAV (via nginx)
- Forgejo => Git
- Readeck => save/bookmark webpages
- Jellyfin (via Docker) => media/DLNA server
- Immich (via Docker) => photo management
- Vaultwarden (via Docker) => password manager
- Audiobookshelf (via Docker) => listen to audiobooks
- Music Assistant (via Docker) => stream from all your music sources to all your devices
- apprise (via Docker) => notifications
Please note that this is a Raspberry Pi 4 model B with 8GB RAM - with less RAM you probably will not be able to host all those services listed above.
Basic OS Setup
Raspberry Pi OS (Trixie)
The installation method described here is basically still valid. Most of that I got from Mike Kuketz’ blog.
Download the current Raspberry Pi OS Lite version based on Debian 13 from here and copy it to SD card:
sha256sum 2025-12-04-raspios-trixie-arm64-lite.img.xz # verify downloaded file before proceeding!
unxz 2025-12-04-raspios-trixie-arm64-lite.img.xz
sudo dd bs=4M if=/<PATH_TO>/2025-12-04-raspios-trixie-arm64-lite.img of=/dev/sd<X> conv=fsync status=progress
sudo sync
Make sure “/dev/sdX” is the correct device as you will loose all data on that device! Now we need to mount the SD card and create two files. The first one will simply enable sshd, allowing us to login via ssh. The second file will create the user “pi” with the initial password “raspberry”:
touch /<SD_CARD_MOUNT_PATH>/bootfs/ssh
echo "pi:$6$T6s1r19kJcX4WPpC$W5K/SPq6HE84yK.GwLuS2tqQhV6W4g6vHe/bIsBeE2rHJpbRXeQIEAjP0KnlCU5ifFfq.t96.KWX81iGO3kQV/" >> /<SD_CARD_MOUNT_PATH>/bootfs/userconf.txt
Once done insert the SD card into your Pi and power it up. Find the IP (probably check your router) and connect via ssh -l pi <IP>.
Configure nts
First thing you might want to do is installing fake-hwclock, which will kind of act as a RTC and save the current time upon reboot. Thus, the time on your Pi will not differ from the current time too much after a reboot. This will come in handy if you’re using nts for time syncing. Of course, if you shut the Pi down for a couple of days it will not help. To actually configure nts, install chrony (this will remove systemd-timesyncd) - if you don’t care, skip it. But at least check for updates:
sudo apt update && sudo apt dist-upgrade
sudo apt install fake-hwclock chrony
You might also want to set your timezone and modify the hostname, i.e.:
sudo timedatectl set-timezone Europe/Berlin
sudo hostnamectl <NEW_HOSTNAME>
To configure nts check out this post. Keep in mind: if the time of your Pi is off too much, chrony will not be able to set it right! It’s kind of a catch 22… In that case disable chrony, set the time manually and enable chrony again:
sudo systemctl stop chrony
sudo timedatectl set-time "YYYY-MM-DD H:m:s"
sudo systemctl start chrony
Minimize power consumption
You will likely not require audio, bluetooth, WiFi or HDMI to work. To disable those hardware components edit /boot/firmware/config.txt:
- search for
dtparam=audioand change it todtparam=audio=off - search for
dtoverlay=vc4-kms-v3dand change it todtoverlay=vc4-kms-v3d,noaudio - add those three lines before “
[cm4]”:
# Disable Bluetooth, WiFi and HDMI
dtoverlay=disable-bt
dtoverlay=disable-wifi
hdmi_blanking=1
Firewall
Installing a firewall on a device which is not exposed outside your private LAN might not be considered necessary. So, this is optional. Nevertheless, I’ve set it up anyway:
sudo apt install firewalld
This will automatically start the firewall. Port 22 is enabled by default, thus it should not be an issue staying connected via ssh (make sure not to change the default ssh port though!).
Set a static IP
As the Pi should act as a server, a static IP is required. Make sure to choose one outside your router’s DHCP range:
sudo nmcli con mod "Wired connection 1" ipv4.addresses 192.168.1.2/24 ipv4.gateway 192.168.1.1 ipv4.method manual
sudo reboot
Adjust IPs/networks according to your environment. If your locale is set to a different language than English, and thus the connection is not called "Wired connection 1", check its NAME by:
nmcli con show | grep eth0
Configure external NVME disk
Connect the NVME disk to one of the USB 3 ports (blue ones). When running lsblk you should see a new disk, i.e. /dev/sda (make sure to get the device name right!!). Create partitions and format them (depending on your requirements):
sudo cfdisk /dev/sda
sudo mkfs.ext4 /dev/sda1
sudo mkfs.ext4 /dev/sda2 # depending on how many partitions you've created
...
I decided to create 3 partitions:
data: Docker compose, application data (~250 GB)photos: for my photo library (~630 GB)media: for audio files (~950 GB)
I’m mounting all of those within /data, so it will look something like this:
sda           8:0    0   1.8T  0 disk
├─sda1        8:1    0   256G  0 part /data/data
├─sda2        8:2    0   640G  0 part /data/photos
└─sda3        8:3    0   967G  0 part /data/media
Now get the UUIDs for the new partitions, add them to /etc/fstab, create the mount points and finally mount them, i.e.:
lsblk -f
echo "UUID=<UUID_FROM_PREVIOUS_COMMAND> /your/mount/point ext4 defaults,noatime 0 2" | sudo tee -a /etc/fstab
...
sudo mkdir -p /your/mount/point
...
sudo mount /your/mount/point
...
df -h
At this point it might be a good idea to reboot and see if all is working. If all comes up again, we should be good to go!